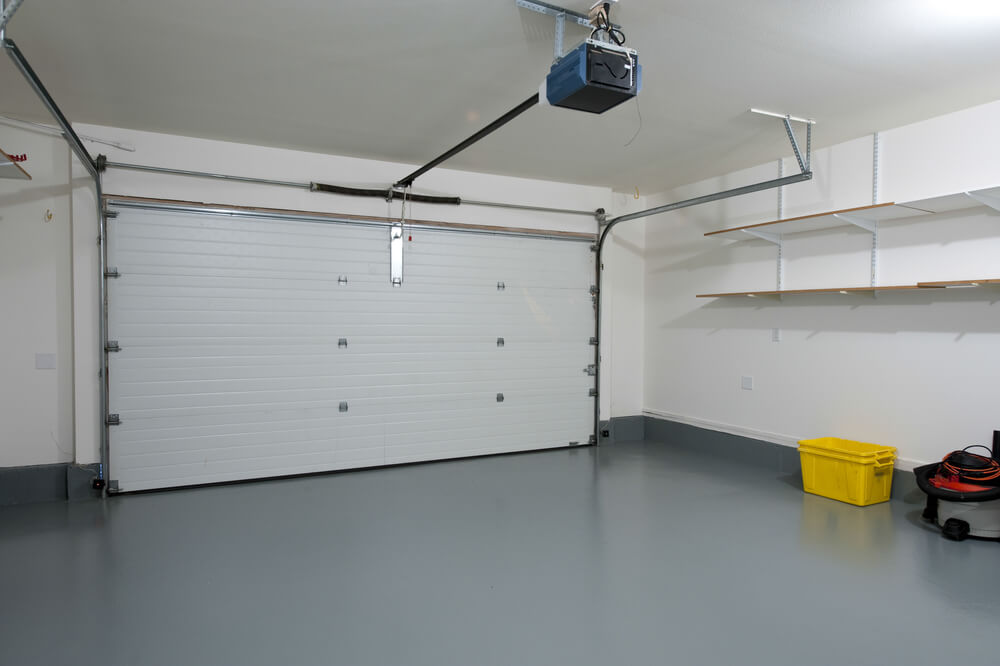
Replacing the concrete floor of your garage is an integral home improvement project that requires planning, precision, and a bit of patience. For many homeowners, understanding the intricacies of the process can ease anxieties and provide a smoother experience. In this article, we’ll walk you through what to expect during a concrete garage floor replacement.
Initial Evaluation
Assessing the Current Condition
Before diving into the replacement, it’s crucial to assess the current condition of your garage floor. Look out for signs of wear like cracks, pitting, or significant staining. These can indicate underlying issues such as water damage, shifting of the foundation, or just plain age.
Determining the Need
Not every wear sign warrants an immediate replacement. Sometimes, minor repairs might suffice. However, if the damage is extensive or if the floor has been in place for many years, it’s probably time for a more comprehensive solution: a complete concrete floor overhaul.
Preparation Phase
Clearing the Garage
Before the professionals arrive, it’s essential to clear out your garage. This means removing vehicles, tools, stored items, and any other obstacles that might hinder the replacement process. Some contractors might offer this as a service, but doing it yourself can save some costs.
Floor Demolition
Here’s where the main action starts. The old concrete floor will be broken up and removed. This can be noisy and may create a lot of debris. Depending on the size of your garage, this stage can last a day or two.
Laying the New Concrete
Ground Stabilization
Before pouring the new concrete, the ground beneath needs to be stabilized. This might involve compacting the soil or adding a layer of gravel. Ground stabilization ensures that the new concrete floor won’t shift or crack prematurely.
Pouring and Leveling
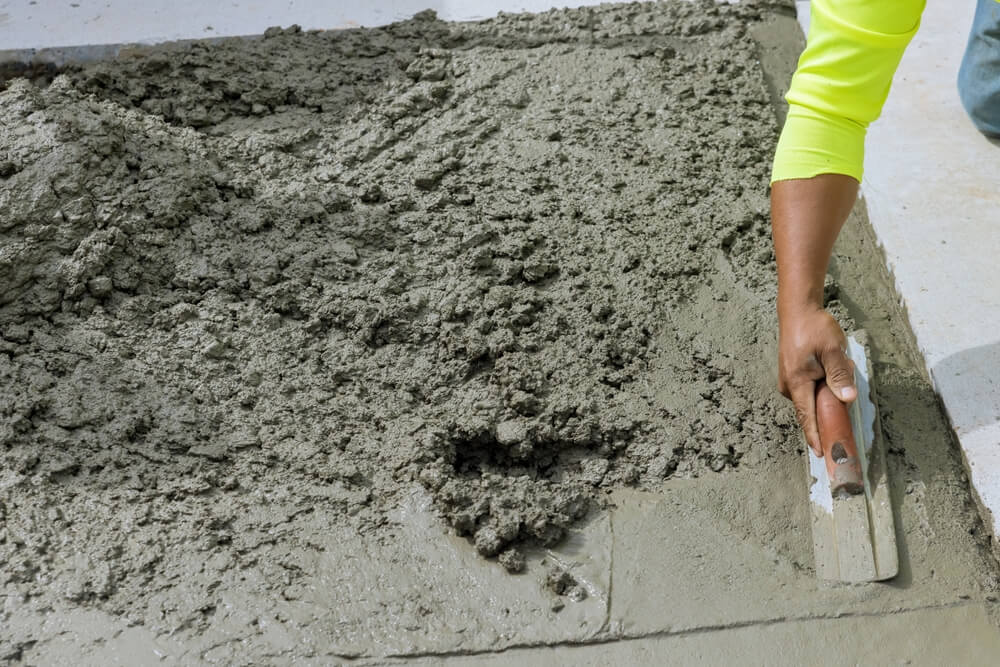
Once the ground is prepared, it’s time to pour the new concrete. Professionals will ensure it’s spread evenly and reaches every corner of your garage. They’ll use tools to level the concrete, ensuring a flat surface.
Curing Process
Concrete doesn’t dry; it cures. This curing process can take several days to weeks, depending on the climate and specific concrete mixture used. It’s during this time that the concrete reaches its full strength. It’s vital to avoid walking on or using the garage during this phase.
Finishing Touches
Sealant Application
After the concrete has fully cured, a sealant is often applied. This sealant acts as a protective layer, preventing oil stains, moisture penetration, and other potential damages. It also gives the concrete a polished look, adding aesthetic appeal to its durability.
Reorganizing Your Garage
Once the sealant has dried, which can take another day or so, you can begin moving your items back into the garage. It’s a good time to consider reorganizing or decluttering, capitalizing on the fresh start your new floor provides.
Aftercare and Maintenance
Now that you have a brand new concrete garage floor, it’s essential to maintain it. Regular cleaning, immediately addressing spills, and avoiding dragging sharp objects can keep it in pristine condition for years to come. Consider reapplying sealant every few years to ensure continued protection.
Conclusion

A concrete garage floor replacement is a substantial project, but with the right expectations and understanding of the process, it can be much less daunting. By knowing what to expect during each phase and being prepared, you’ll have a smoother experience and a garage floor that will serve you well for many years. If you have any questions or need expert guidance, don’t hesitate to contact Richfield Concrete today.


