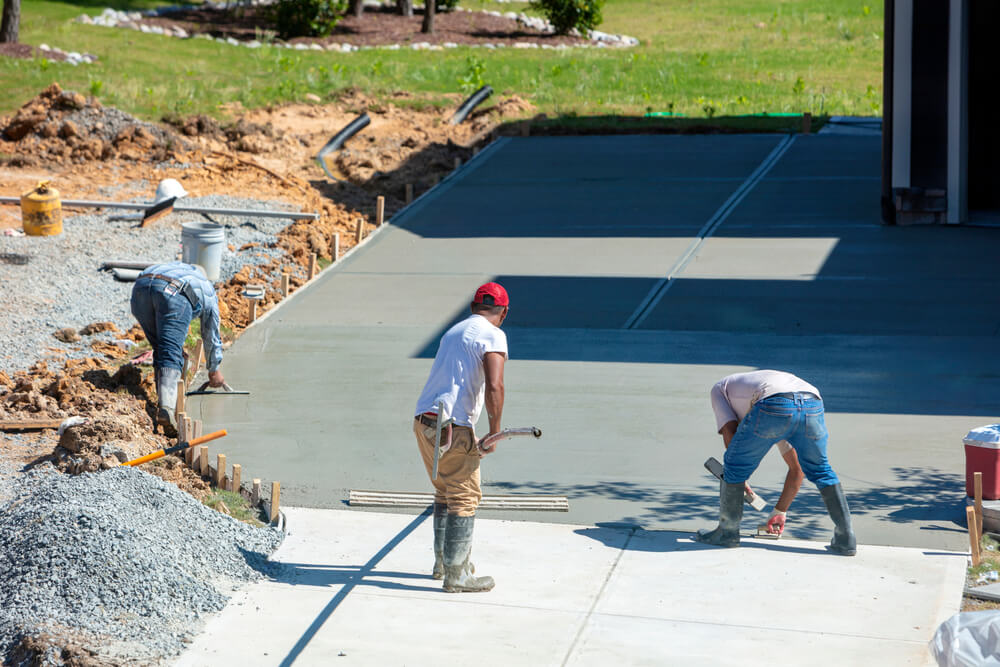
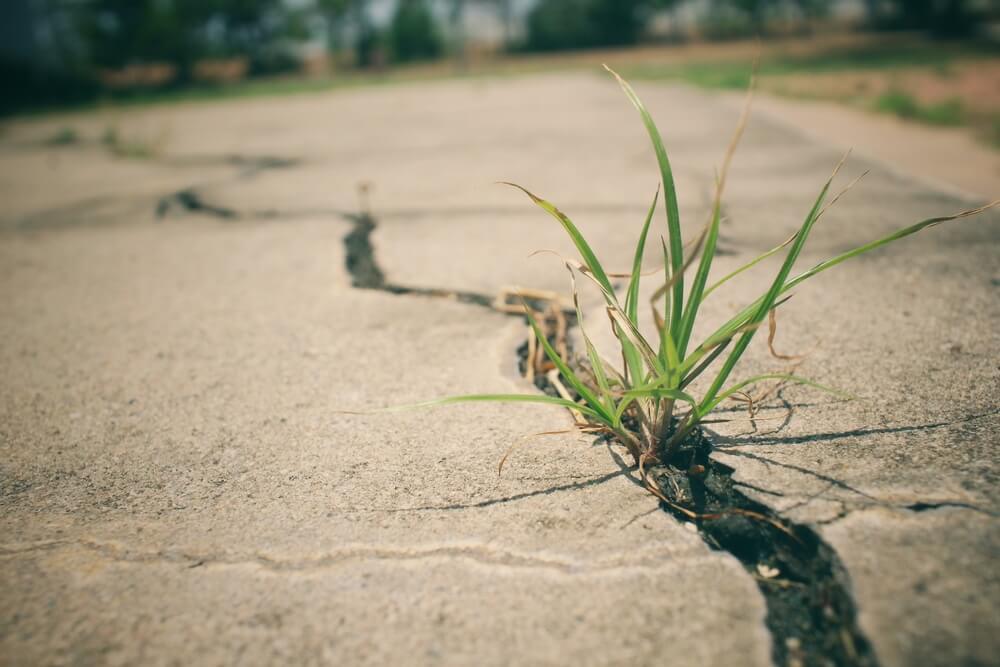
Concrete driveways are known for their durability, but over time, even the most well-laid driveways can begin to show signs of wear and tear. Cracks are often the most visible sign, and if left unchecked, they can lead to more serious structural issues. Fortunately, repairing them can be a straightforward DIY project if you have the right tools and knowledge.
Understanding the Causes of Cracks
Before diving into the repair process, it’s important to understand why cracks appear in the first place.
Natural Settlement
Concrete is a heavy material. Over time, the ground underneath can shift or settle, leading to unevenness. This can cause the concrete to crack, especially in areas with frequent temperature changes.
Excess Water in the Mix
Too much water in the concrete mix can weaken the concrete and make it more susceptible to cracking. This is why it’s crucial to get the mix right from the beginning.
External Pressure
Heavy vehicles, large amounts of water runoff, or even tree roots can exert pressure on your driveway, causing it to crack.
Materials & Tools You’ll Need
To ensure an efficient repair process, gather the following items:
- Concrete patching compound or filler
- Chisel or small sledgehammer
- Wire brush
- Broom and dustpan
- Concrete sealer
- Trowel or putty knife
- Pressure washer (optional)
Step-by-Step Guide to Repairing Cracks in Your Driveway
With your tools and materials at the ready, you can now proceed with the repair.
Clean the Area
Use the wire brush to remove loose concrete and debris from the crack. For larger cracks or multiple areas, a pressure washer can be used to ensure a deeper clean. This step is crucial to ensure the patching material adheres properly.
2. Prepare the Crack
Using the chisel and sledgehammer, widen the crack slightly. This might sound counterintuitive, but it helps to create a better surface for the patching material to bond to. This is known as “keying” the crack.
3. Apply the Patching
Compound Mix the concrete patching compound according to the manufacturer’s instructions. Once mixed, use the trowel or putty knife to push the compound into the crack. Ensure that the compound fills the entire crack and is level with the rest of the driveway.
4. Smooth the Surface
After filling the crack, smooth the surface with the trowel. Ensure it blends seamlessly with the surrounding area.
5. Allow to Cure
Let the patching compound cure according to the manufacturer’s guidelines. This is typically 24 to 48 hours, but it can vary. Avoid driving or walking on the repaired area during this time.
6. Seal the Driveway
Once the repair is fully cured, seal your entire driveway. This step is crucial to prevent further cracks and extend the life of your concrete driveway. A sealed surface is more resistant to water, UV rays, and other potential damage.
Tips for Maintaining Your Concrete Driveway
After repairing the cracks in your concrete driveway, here are some tips to keep it in top shape:
- Regular Cleaning: Periodically clean your driveway with a pressure washer to remove dirt and debris.
- Reseal When Necessary: Over time, the sealant can wear off. Reapply sealant every 2-3 years to maintain protection.
- Avoid Chemicals: Harsh chemicals like de-icing salts can erode concrete over time. Use sand for traction during winter months.
- Address Issues Promptly: If you notice new cracks or damage, address them immediately. Quick action can prevent more significant problems down the road.
Conclusion

Cracks in your concrete driveway can be a concern, but with the right approach, they can be manageable. Regular maintenance and timely repairs will ensure that your driveway remains strong, functional, and aesthetically pleasing for years to come.
Whether you’re addressing small surface cracks or dealing with more significant damage, taking the time to repair and protect your concrete can make all the difference in its longevity.
If you ever feel uncertain about a repair or need expert guidance, don’t hesitate to contact Richfield Concrete today. We’re here to help ensure your driveway stays in top shape!


