


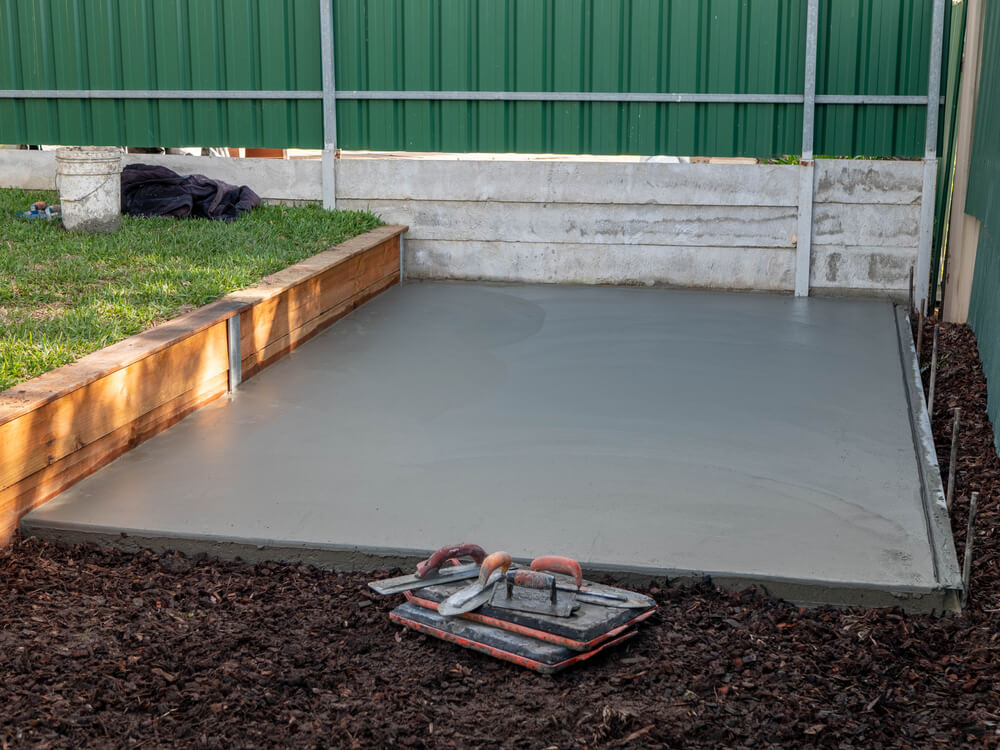
Ever looked at a perfectly smooth concrete patio or driveway and wondered what the secret was to such a pristine finish? It all starts below the surface with expert-level ground preparation. If you’re aiming to create a lasting and durable concrete slab, proper leveling of the ground is non-negotiable. This guide will take you through the essential steps to prepare and level the ground for a concrete slab, ensuring a professional outcome from the get-go.
The Importance of Proper Ground Preparation
Ground preparation is fundamental to the success of your concrete slab. An uneven base can lead to cracks, an unstable surface, and long-term structural issues. By ensuring the ground is properly leveled, you create a stable foundation that supports the concrete evenly, enhancing its strength and appearance.
Tools and Materials Needed
To level the ground for a concrete slab like a pro, you will need several key tools and materials:
- Shovel
- Rake
- LevelTape Measure: For accurate dimensions.
- Compactor
- Gravel or Crushed Stone
- Sand
- Plastic Sheeting
Step-by-Step Process
1. Planning and Measuring
Begin by marking the area where you plan to pour the concrete slab. Use stakes and string lines to outline the dimensions of the slab. Accurate measurements are crucial to ensure the slab fits your design and functions as intended.
2. Excavating the Area
Remove all grass, roots, and debris from the marked area. Dig down to a depth of 4 to 6 inches below the planned thickness of your slab. This depth might vary based on the slab’s intended use and size. Proper excavation is essential for creating a stable foundation.
3. Leveling the Base
Once the area is excavated, use a rake to spread and level the soil. It’s important to create a smooth and even surface. Compact the soil with a compactor to ensure it is firm and stable. For larger areas, a power compactor might be more efficient. This step is crucial for preparing a solid base for the slab.
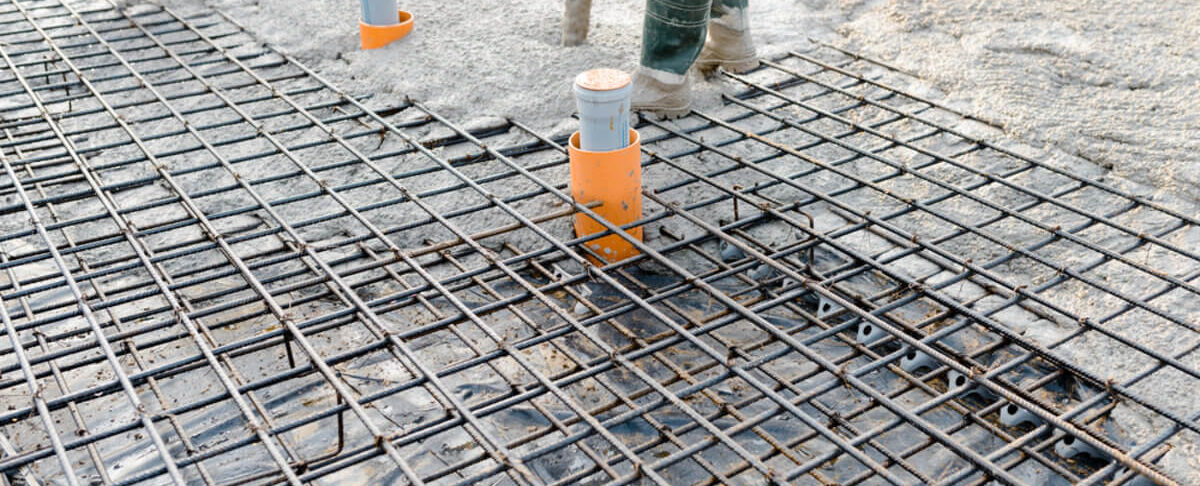
4. Adding a Gravel Base
Place a layer of gravel or crushed stone about 2 to 4 inches thick over the leveled soil. This gravel base enhances drainage and provides additional stability. Spread the gravel evenly and compact it thoroughly. This layer is critical for ensuring a solid and reliable foundation for your concrete slab.
5. Spreading Sand and Final Leveling
Next, cover the gravel with a thin layer of sand. The sand helps with fine-tuning the leveling process and provides a smooth surface for the concrete. Use a rake to spread the sand evenly and check for high or low spots with a level. Adjust as needed to achieve a perfectly flat surface.
6. Installing a Moisture Barrier
To prevent moisture from seeping into the concrete, place plastic sheeting over the sand. Overlap the edges of the plastic to ensure complete coverage and avoid gaps where moisture could potentially affect the concrete.
7. Final Checks
Before you pour the concrete, double-check the level of the base. Use a level to confirm that the surface is perfectly even. Make any necessary adjustments to ensure that the ground is smooth and level. This final check is essential for achieving a professional-quality finish on your concrete slab.
Conclusion
Leveling the ground for a concrete slab like a pro requires careful planning, precise measurements, and thorough preparation. By following these steps, you can ensure that your concrete slab will be stable, durable, and visually appealing. For expert assistance with your concrete project, contact Richfield Concrete today.