A cracked and worn-out driveway not only diminishes your home’s curb appeal but can also lead to more significant issues if left unattended. The good news is that resurfacing a concrete driveway is more accessible and effective than ever, thanks to advancements in technology. In this guide, we’ll explore the step-by-step process and considerations for resurfacing your concrete driveway.
Understanding the Importance of Resurfacing
Ten years ago, the idea of effectively resurfacing a concrete driveway might have seemed like a distant dream. However, technological advancements have transformed this process, making it more durable and accessible. Several companies now specialize in concrete resurfacing, offering solutions that address common issues like scaling and cracks.
Benefits of Resurfacing Your Driveway
Resurfacing a concrete driveway is not just about aesthetics. A well-maintained driveway enhances your home’s curb appeal and can significantly increase its market value. Moreover, addressing surface damage early on can prevent more costly repairs down the line, ensuring the longevity of your driveway.
Preparing for Resurfacing
Assess the Condition of Your Driveway
Before you begin the resurfacing process, it’s crucial to thoroughly inspect your driveway. Look for visible signs of damage such as cracks, scaling, or areas where the concrete is crumbling. This assessment will help you determine the extent of the repairs needed and the appropriate resurfacing method.
Clean and Prep the Surface
Preparation is key to a successful resurfacing project. Start by cleaning the driveway thoroughly to remove dirt, oil, and debris. Use a pressure washer for a deep clean, ensuring all contaminants are eliminated. Once clean, repair any significant cracks or holes with a suitable concrete patching compound.
The Resurfacing Process
Choose the Right Resurfacing Product
With various resurfacing products available, selecting the right one is critical. Consider factors such as the type of damage, the climate in your area, and the expected traffic on your driveway. Popular options include polymer-based overlays and epoxy coatings, both known for their durability and resistance to harsh weather conditions.
Mix and Apply the Resurfacing Compound
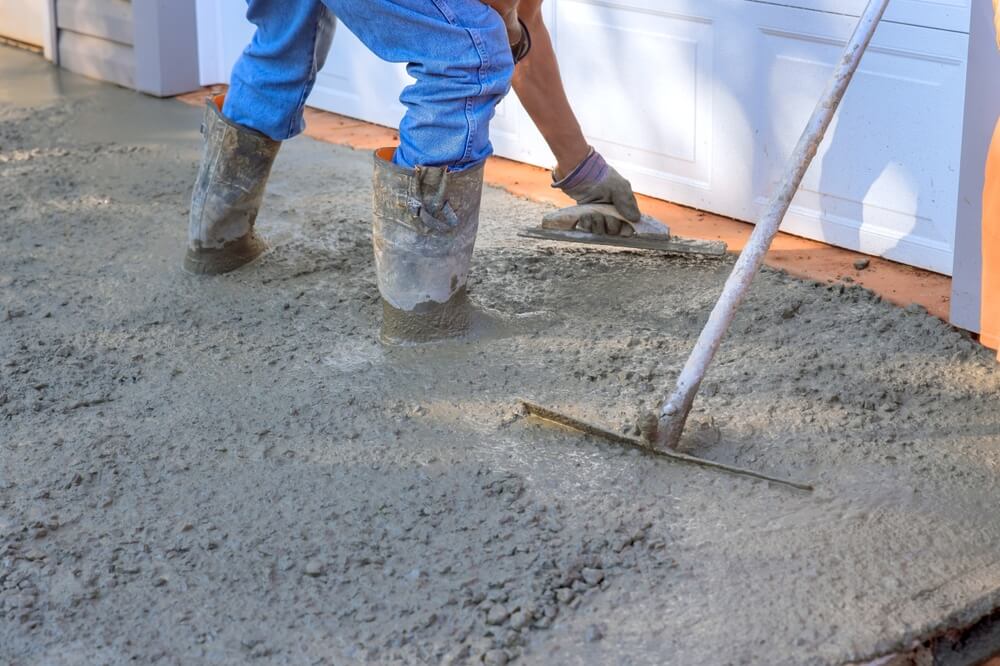
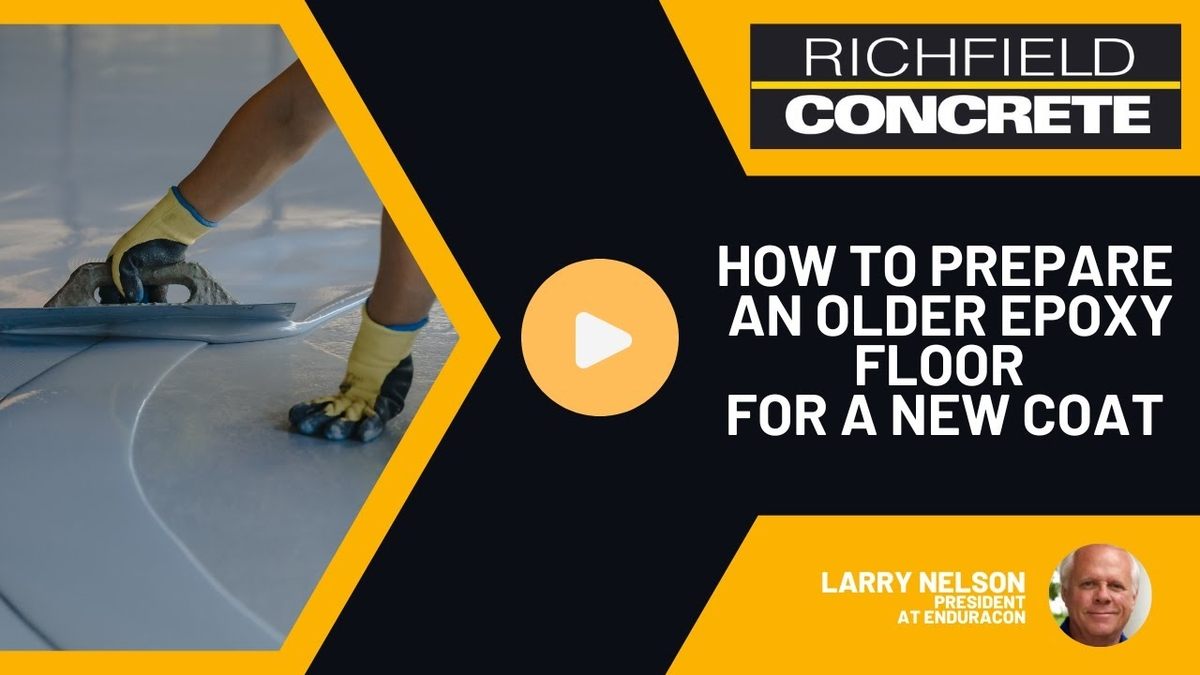
Follow the manufacturer’s instructions for mixing the resurfacing compound. It’s essential to get the consistency right to ensure a smooth application. Begin by pouring the mixture onto the driveway and spreading it evenly with a trowel or squeegee. Work systematically, covering small sections at a time to ensure uniformity.
Add Finishing Touches and Allow to Cure
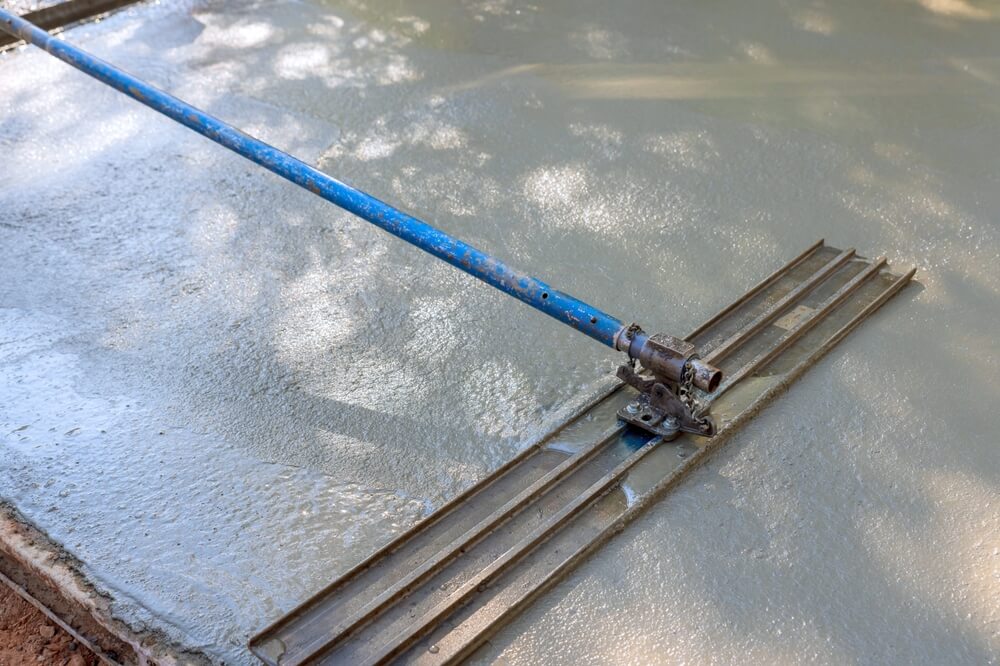
After applying the resurfacing compound, you may need to use a finishing tool to achieve the desired texture. Some prefer a broom finish for added traction, while others opt for a smooth finish for a sleek look. Once the application is complete, allow the surface to cure as per the product instructions. This step is vital for the longevity and durability of the resurfacing job.
Maintenance Tips for a Long-Lasting Driveway
Regular Cleaning and Sealing
To maintain your resurfaced driveway, regular cleaning is essential. Use a mild detergent and a pressure washer to remove dirt and stains. Additionally, consider sealing the driveway every few years to protect it from the elements and extend its lifespan.
Address Minor Repairs Promptly
Even with the best resurfacing, minor cracks or damage can occur over time. Address these issues promptly to prevent them from escalating. A quick patch job can save you significant time and money in the long run.
Conclusion
Resurfacing a concrete driveway is a cost-effective way to rejuvenate your home’s exterior and increase its value. With the advancements in resurfacing technology, it’s now easier than ever to achieve a durable and attractive finish. By following the steps outlined in this guide and investing in regular maintenance, you can ensure your driveway remains in top condition for years to come. Contact Richfield Concrete today for expert advice and assistance with your concrete resurfacing project.


